How to choose an Iceland tour at 55+
After deciding to go to Iceland in the first place and ruling out self-driving in winter without much debate, it felt like the major planning hurdles were behind us. That turned out to be an optimistic interpretation of the situation. It soon turned into a major question: I want to book a tour – but how do I choose the right one?
When I first started looking at Iceland tours, I was completely overwhelmed within about fifteen minutes. There are a lot of options. Many of them visit the same places, yet somehow they all feel slightly different. And none of them make it particularly easy to work out which one you should actually choose.
After a couple of hours of going in circles, I did what I usually do in these situations and opened a spreadsheet. People tend to mock my spreadsheets, but they work. I created a set of categories: what I wanted to see, what I definitely didn’t want, and everything that would make the trip feel enjoyable rather than like a slightly frantic dash from one stop to the next.
We only had time for a three-day tour, so I picked four that looked broadly suitable and started filling things in. Once it was all laid out (colours included), the differences became much clearer.
I’ve shared the spreadsheet below if you want to use it. I’ll explain how it works later, but the basic idea isn’t specific to Iceland — it’s a useful way to compare almost any guided tour.
Which brings us back to the original question: how do you choose the right tour?
How do you choose the right Iceland tour at 55+?
We chose our Iceland winter tour by comparing the practical details, not just the glossy promises.
We looked at things like group size, daily pace, hotel quality, time spent driving, included activities, and how sensible the itinerary felt in winter. On paper, several tours looked almost identical. In reality, they varied quite a lot once we started looking properly.
I ended up creating a comparison spreadsheet, because after a while they all started to blur into one another. That made it much easier to see which tours looked exciting in theory, and which ones actually felt realistic, comfortable, and worth the money.
In the end, the best tour wasn’t the one with the most stops. It was the one that made the best use of limited daylight, didn’t feel overly rushed, and looked like something we’d still enjoy by day four.
What I Considered When Comparing Tours
Activities and sights
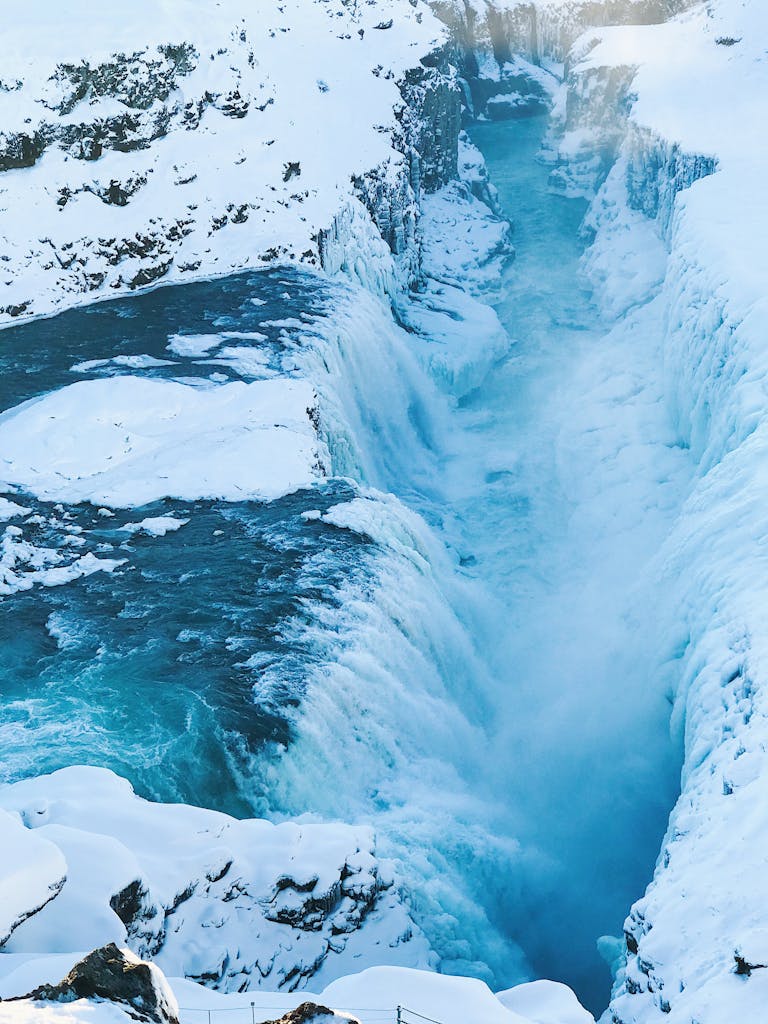
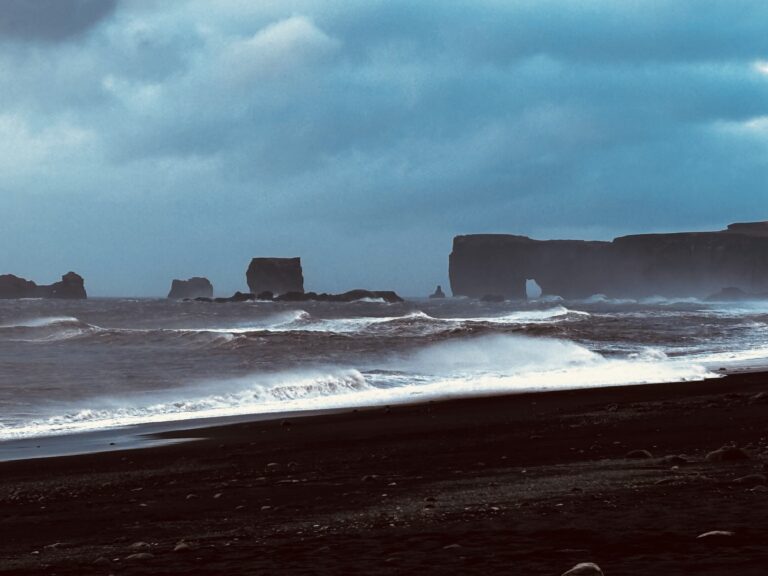
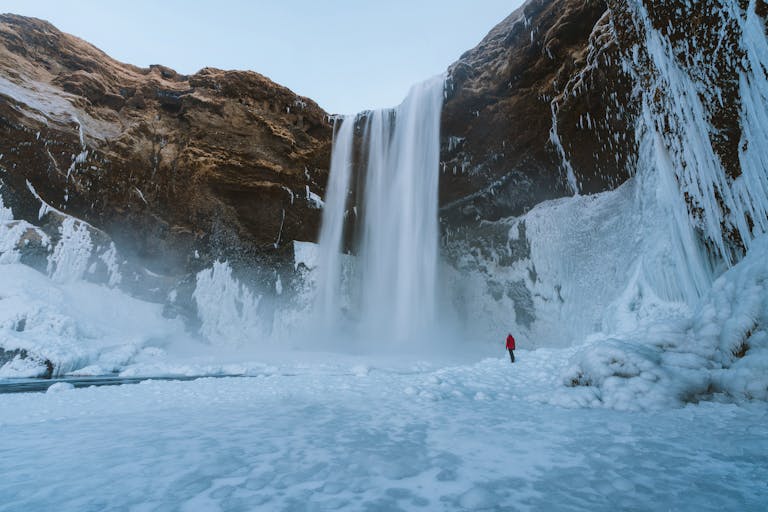
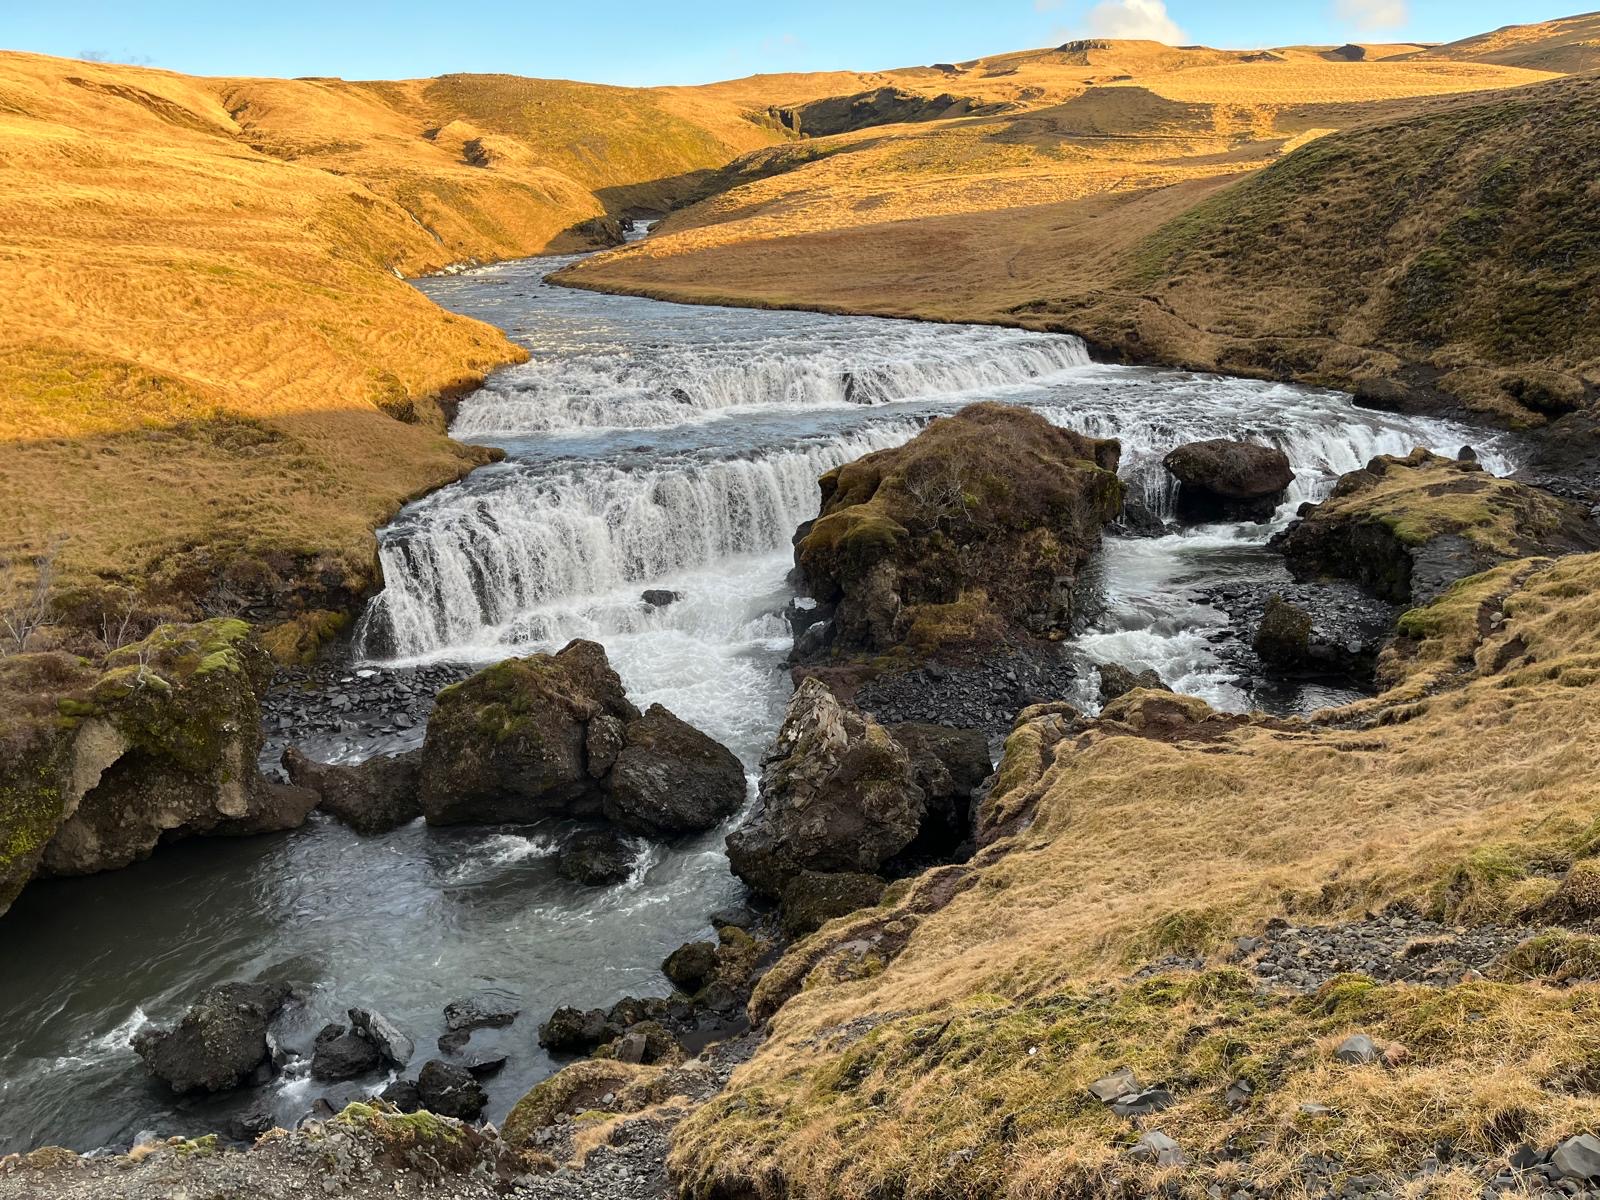
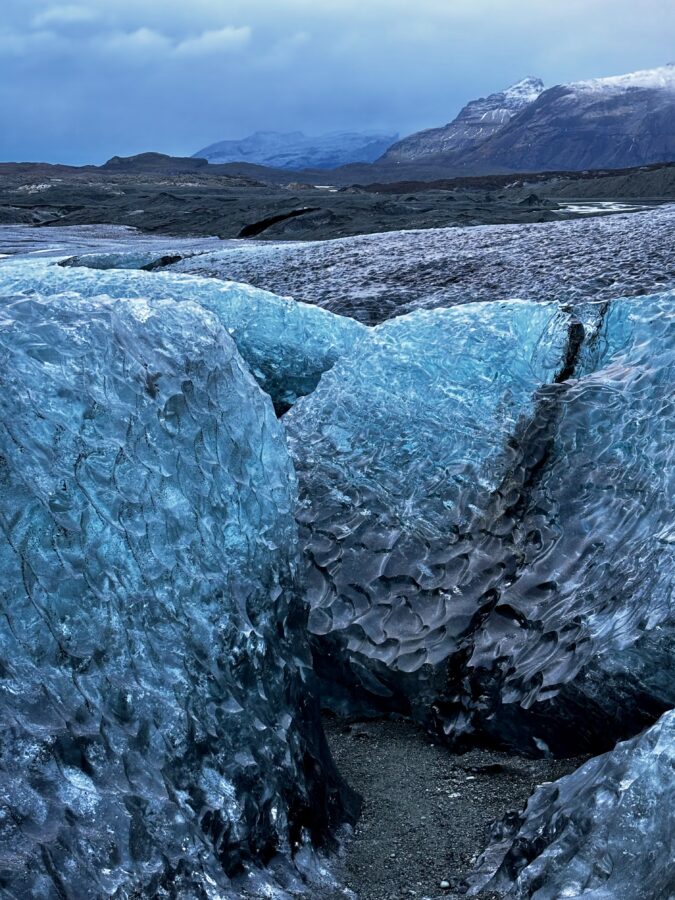
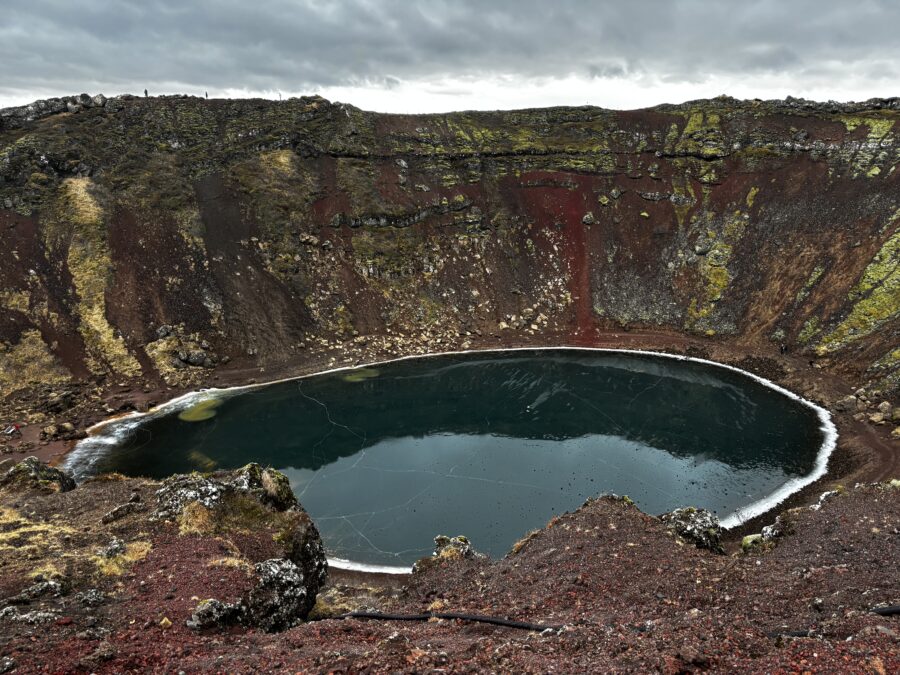
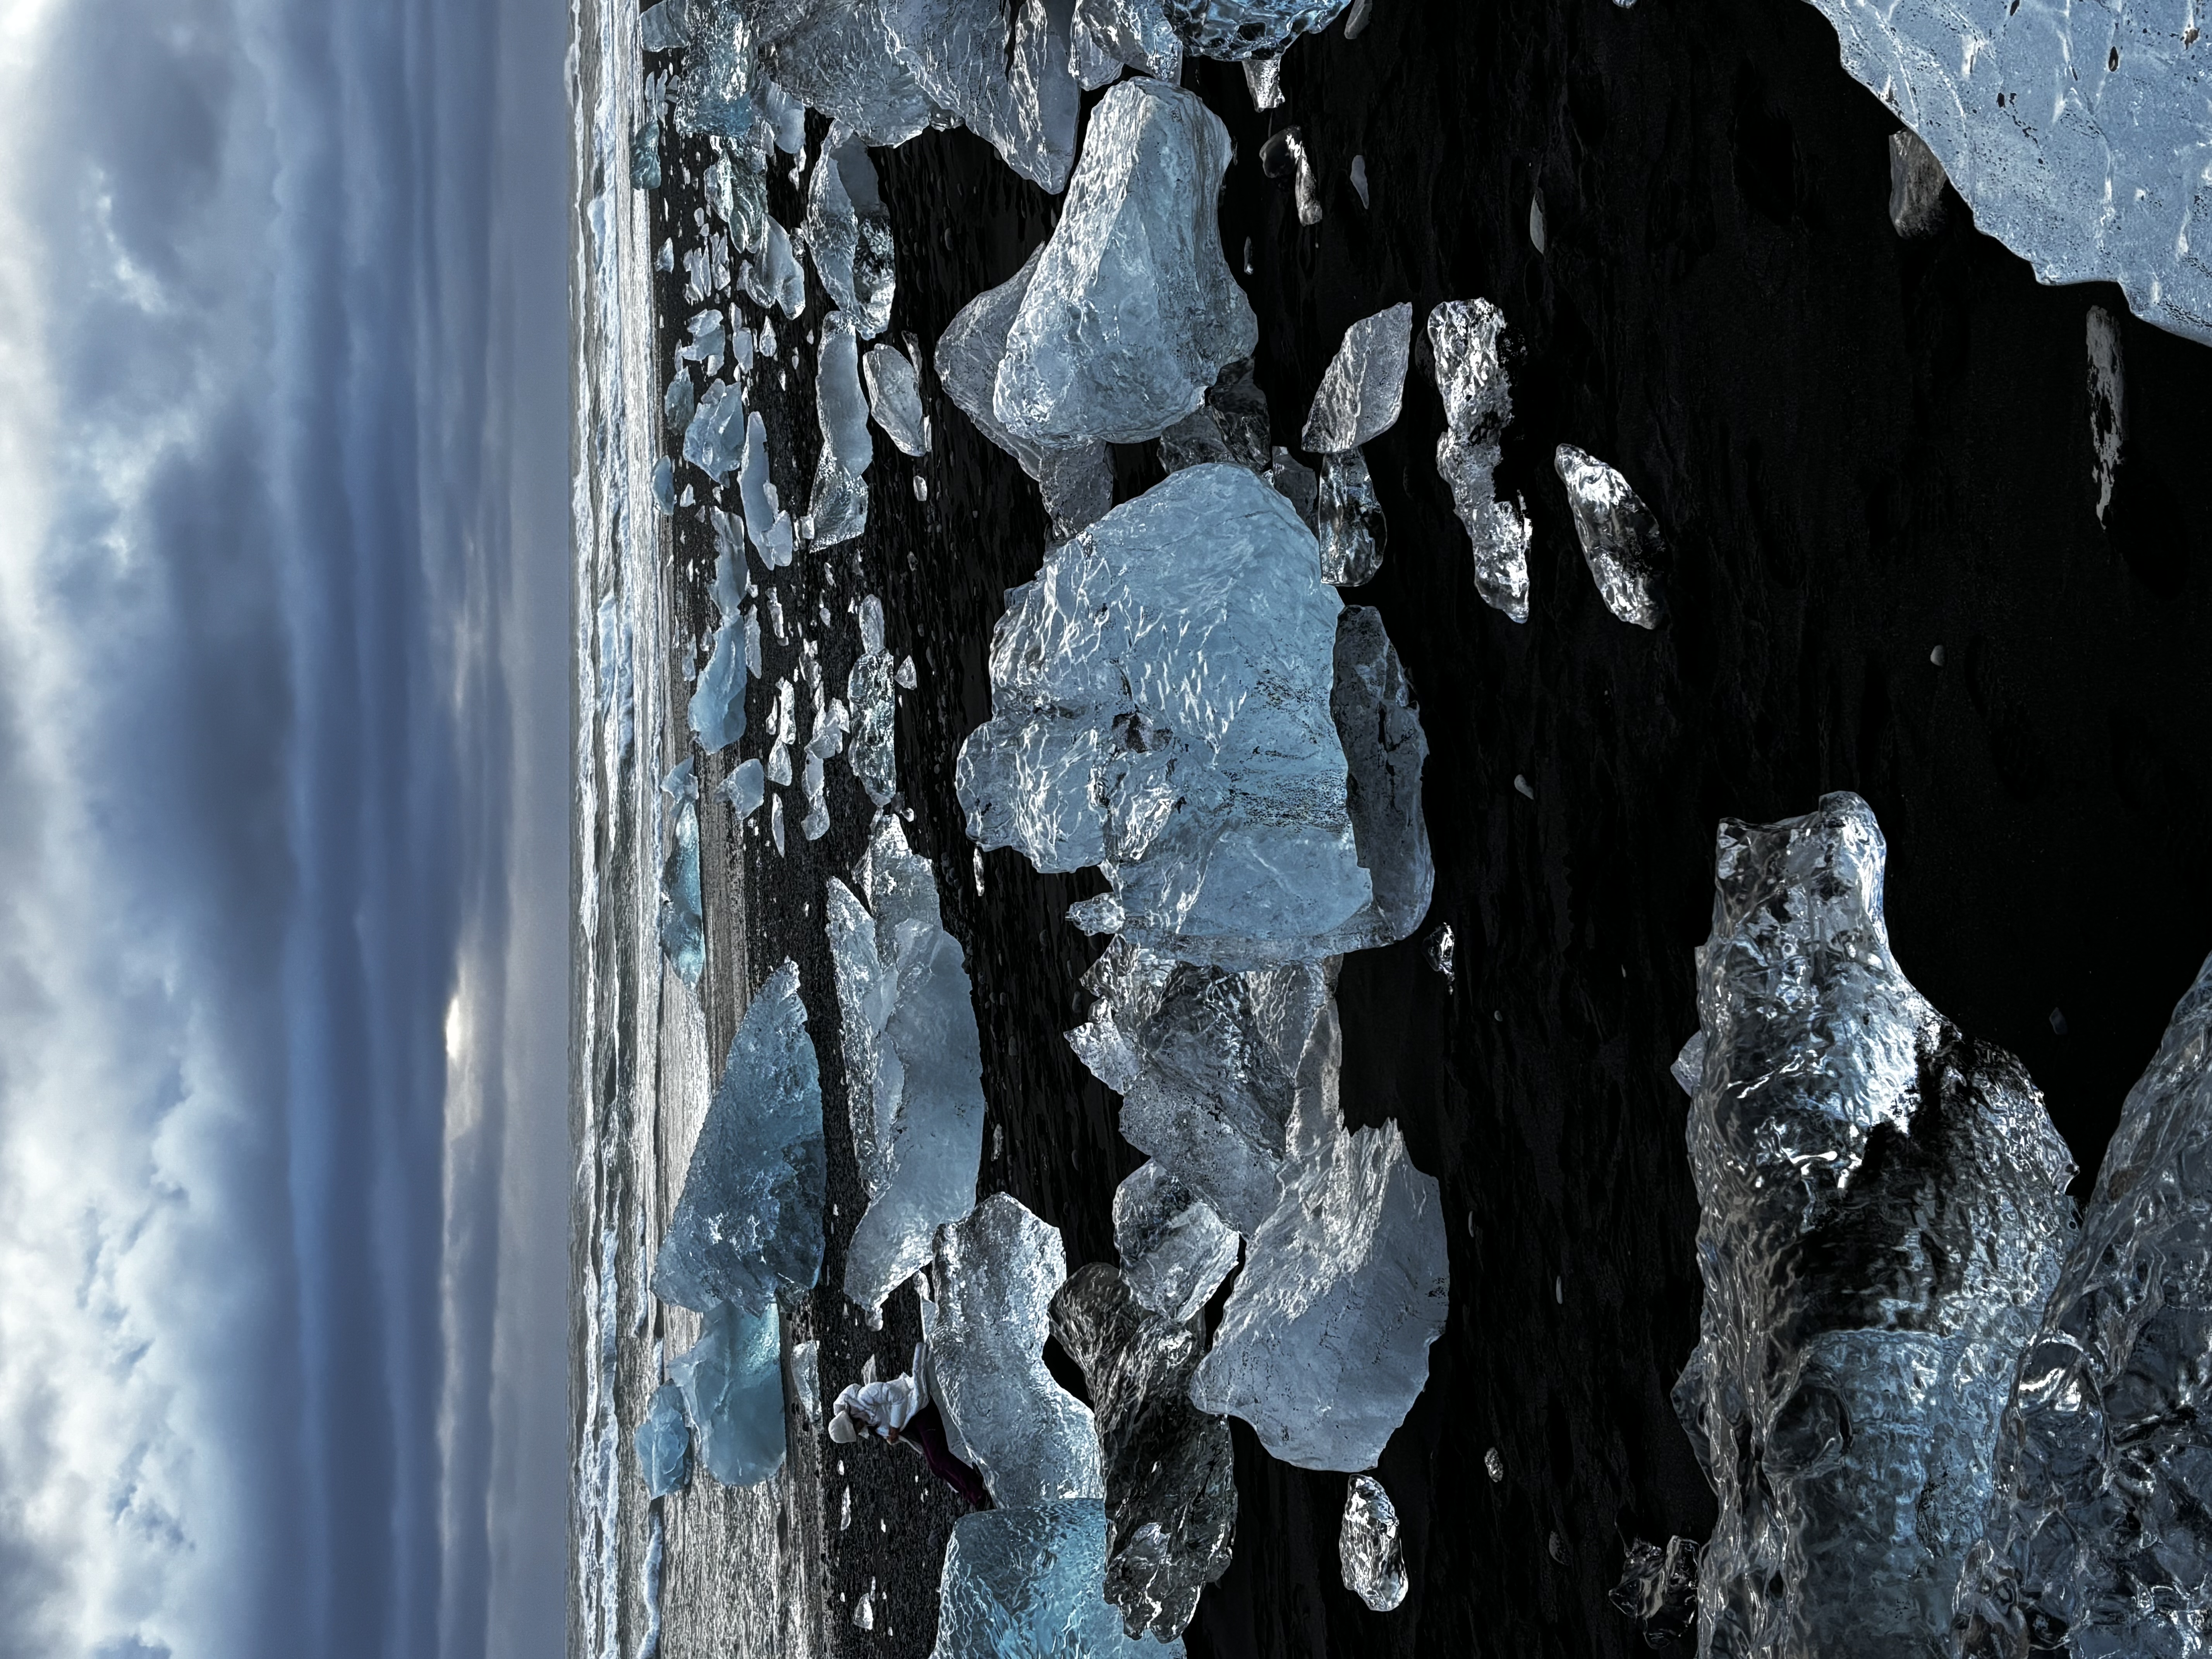
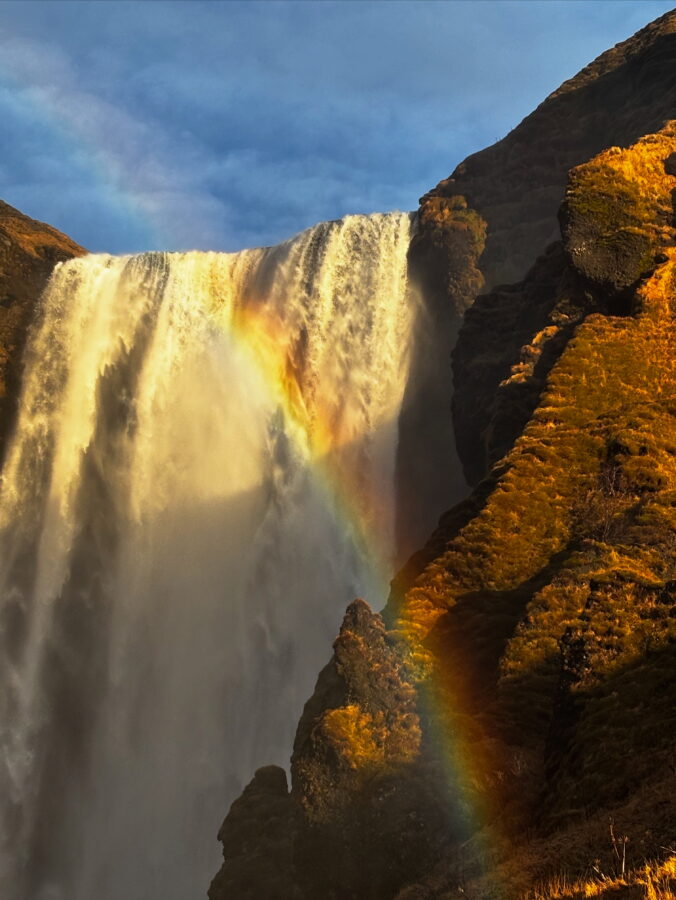
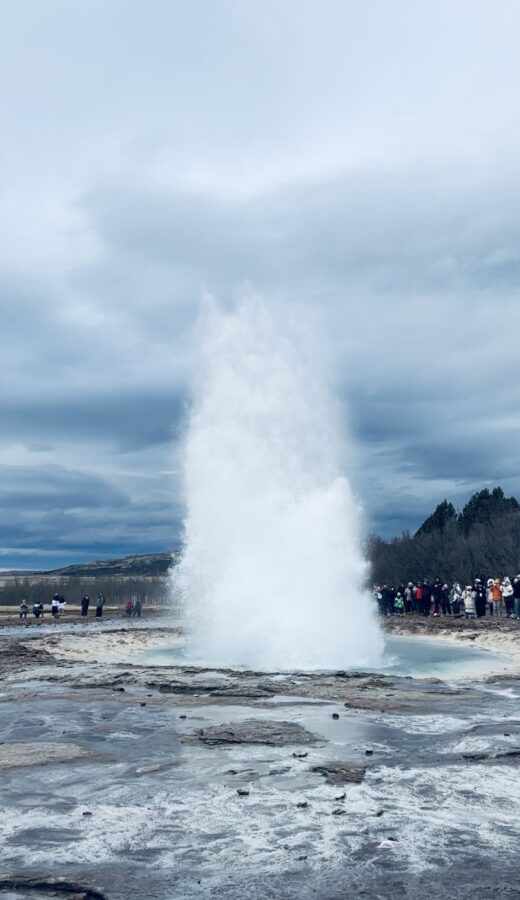
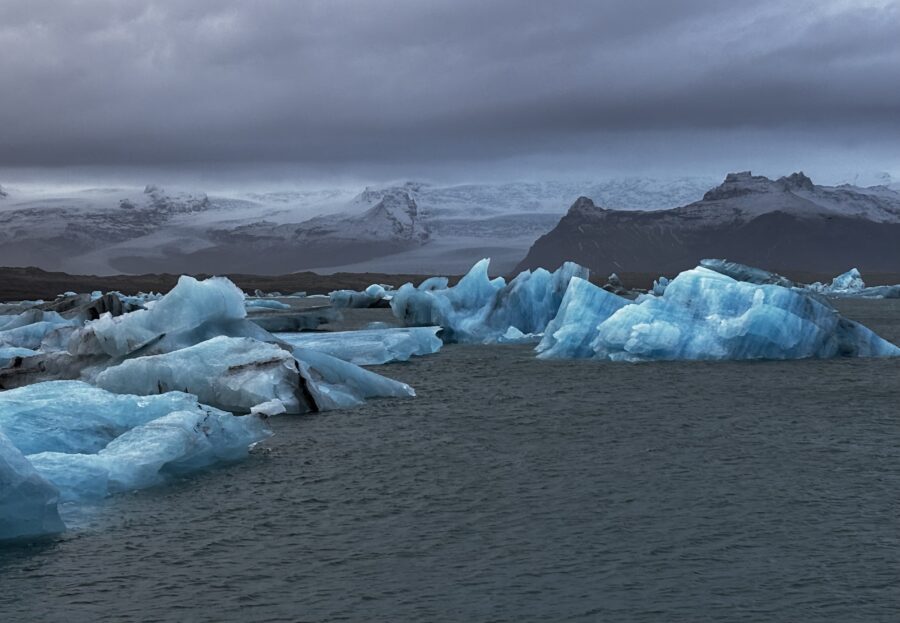
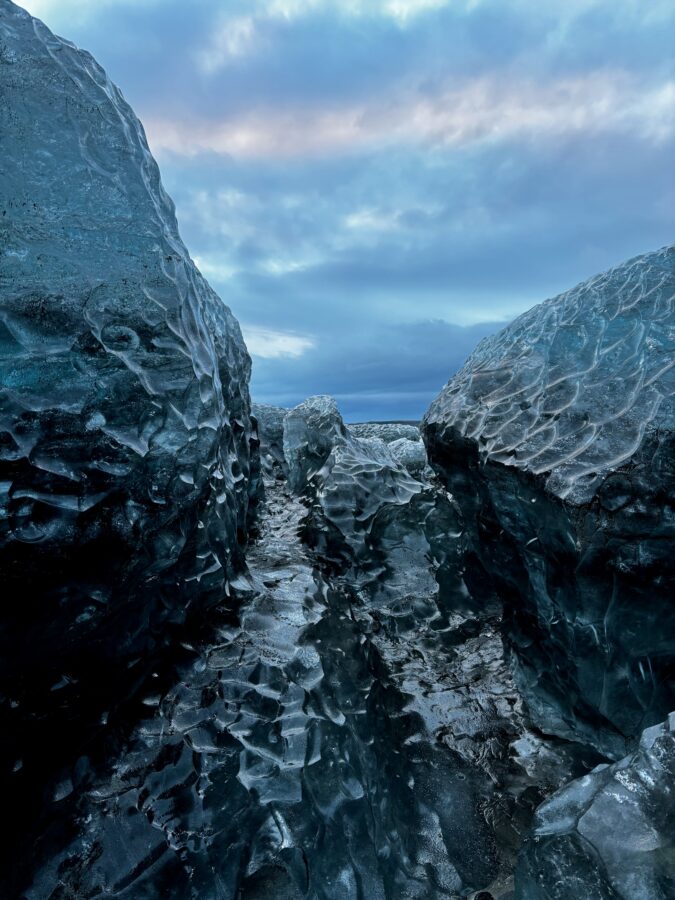
This was the first thing I looked at. There were a number of sights I really wanted to see, and they had to be included in the tour. Of course, the Golden Circle was a must—preferably including the Kerið volcanic crater. Several waterfalls were also on my list, as was Reynisfjara black sand beach. I wanted to visit Jökulsárlón Glacier Lagoon and Diamond Beach. An ice cave or glacier hike had to be part of the itinerary; I leaned toward a jeep tour plus ice cave because I was a bit apprehensive about actually hiking a glacier. I needn’t have worried—but that’s another story.
Cost
I’ve always known Iceland is expensive. When I started researching tours, I also knew this might be the one and only time I’d visit Iceland (spoiler: I’m definitely coming back!). Price wasn’t my main consideration, but all else being equal, the lowest-priced tour would win. In the end, the differences in price weren’t huge—only group size really made a significant difference in cost.
Group size
I didn’t want to be herded on a bus with 60 strangers and have to wait for everyone at each stop. I also don’t enjoy noise and crowds. For me, group size was an important factor.
Required fitness level
As I’ve mentioned before, I’m not unfit, but I’m in my late fifties. I don’t mind walking, climbing stairs (within reason), going uphill, or spending a longer period outside in the cold. What I do mind is tours that involve dangling off cliffs, hiking through mud for hours, or navigating glacier crevasses while hoping not to slip. Scuba diving between tectonic plates? No thanks. Rafting on a glacial river? Definitely not. I also didn’t want to be the one slowing down twenty-something backpackers. Fitness requirements were therefore an important criterion.
Pace
I have enough energy for a full day of sightseeing, but I also need some downtime to fully enjoy it. I didn’t want to spend fifteen minutes at a stunning location and only make it to the gift shop and the view from the parking lot. This meant I preferred not too many stops in a single day, and no days running from 7 AM to 11 PM. None of the tour descriptions mentioned toilet breaks , so if that’s a concern, it’s worth asking before booking. On the tour we chose, it was never an issue.
Accommodation and meals
Initially, I was interested in tours with very special accommodation: igloo huts to see the Northern Lights from the bed, hot spring resorts, or charming country houses with lovely meals included. These options were available, but they had a significant impact on cost. So significant I didn’t include any of them in my comparison. Most tours included breakfast and mid-range accommodation, but other meals were usually not included. All companies offered stops at restaurants or shops for lunch and dinner.
Information before booking and extra options
While not a huge factor, it was important for me to know exactly what I’d be booking. Tours with detailed itineraries, clear information on what to bring and wear, and guidance on who the tour was suitable for scored extra points. Even more if they offered rental of crampons, hiking boots, or outdoor clothing upon booking.
Scoring the tours
This is where the fun began. Armed with my spreadsheet, I compared the tours. I researched and entered information in all categories for four tours that looked most interesting and had the best reviews. On a second worksheet, I grouped the criteria into fewer categories, assigned weights, and started entering scores.
For example:
- All sights I wanted included → 5 points for activities
- Very expensive → 1 point for price
- Minimal pre-booking information → 2 points
Once I’d entered all the information, it became clear that NICE Travels’ South Coast Tour was the best option for us. We booked it, and it turned out to be the perfect tour.
The spreadsheet
You can download the spreadsheet after you’ve subscribed to our mailing list.
The download includes an excel file with three worksheets:
- A clear comparison worksheet to help you line up different tours side by side
- A second worksheet with weighted scores, so you can see which tour comes out on top based on what matters to you
- A bonus worksheet with a checklist of questions to ask tour companies—useful for clarifying things that you can’t always find on websites, such as what “easy”, “moderate”, or “active” really mean, how full the days are, and practical matters like breaks and pacing.
How to use the spreadsheet
Start with the first worksheet and fill in the details for the tours you’re considering. This gives you a clear overview of what each tour offers, without having to jump back and forth between different websites.
Once you’ve done that, move on to the second worksheet. Here you can group the criteria, give each category a weight, and score the tours based on your own preferences. For example, you might care more about pace and comfort than about fitting in every possible activity, or you might prefer smaller groups over lower costs.
The spreadsheet will calculate the total scores automatically. You can adjust the weights and scores as often as you like—this is not about finding a “perfect” tour, but about finding the one that suits you best.
The third worksheet contains a checklist of questions to ask tour companies before booking. It’s especially helpful if, like me, you want to know what a tour will actually feel like before committing, rather than finding out halfway through day one.

Get the planning spreadsheet
Comparing tours can be confusing. Our tour comparison spreadsheet helps you weigh options: price, duration, activities—so you can pick the best experience without the stress.
Interested in more posts about Iceland? You can find them all on my Iceland page.